
Over the past couple of months, I have started losing my ability to talk without a mask. One of the effects of a disease, ALS, is that I am losing the ability to breathe without support which also impacts my ability to talk without my ventilator. This past weekend I did my first speaking engagement at Derby City Data Days in Louisville, KY. As the saying goes, “It takes a village.”
As many of you know, I have been producing a video series called Fabric 5 which contains five minutes snippets about various Microsoft Fabric architectural topics. I was going to use some of that content to create a slide deck about medallion architectures in Fabric. As the day got closer, I was concerned I would not be able to maintain the ability to speak during an entire presentation in my condition. My wife and I thought that we could use my videos for the presentation, so we recruited my son, Alex, who does video editing, to put together the videos for the presentation. That only left the intro slides and the ending slides to be covered by me or someone else.
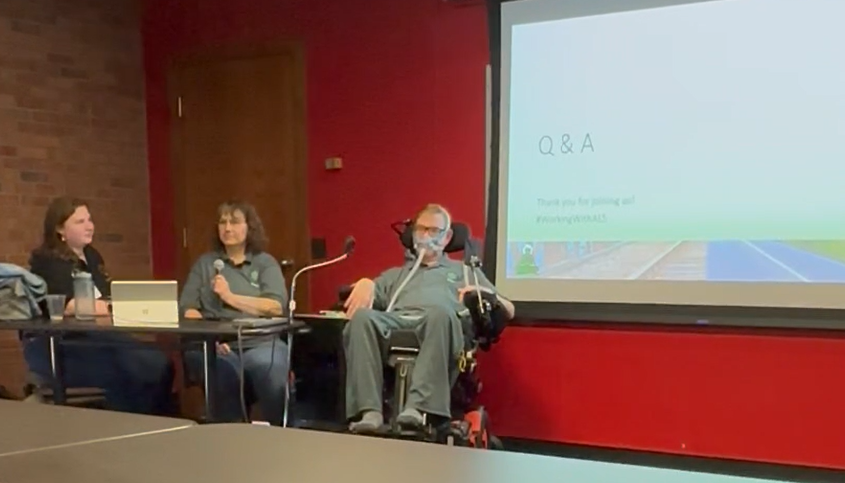
My daughter, Kristyna, was presenting right before me in the same room. She and my wife managed most of the introduction including the sponsor slides and the user groups. I was able to kick off with a microphone that was provided by the venue through Redgate. Then we kicked off the video and took questions during the session. I was able to answer questions with the help of my wife and using the mic provided in the room. We wrapped up with a final Q&A and a couple of references to help people in Fabric.
Overall, this was a wonderful experience for all of us and I appreciated the patience of everybody in the room as we worked through this process for the first time. Here are the Fabric 5 videos that were used during the presentation so you can follow up with it later and references are down below from the end of the presentation. I would like to thank the organizers – John Morehouse, Josh Higginbotham, Matt Gordon – once again for the support and the help as I presented masked up for the first time!
Fabric 5 Videos Used in the Presentation
Fabric 5 – Introduction to the Series and OneLake
Fabric 5 – Why Capacity Matters
Fabric 5 – Medallion Lakehouses
Fabric 5 – Medallion in a Lakehouse
Fabric 5 – Medallion Workspaces
Fabric 5 – Medallion with Compute Workspace
Fabric 5 – Centralized Data Lake
Fabric 5 – Dimensions and Master Data
References
Microsoft Fabric Career Hub Page
Data On Wheels YouTube Channel – Fabric 5 Playlist
After Party Fun – Stayin’ Alive
During the after party my ventilator ran out of power and my car charger did not work. This presented a problem because the trip home was over an hour. When we went out to the car, we had a moment of panic because the ventilator ran completely out of power. We went back to the bar where we were at for the after party to plug in, but the charger wouldn’t work. I was without the ventilator for 15 to 20 minutes while they troubleshot the issue. We started to think that they may have to call 911! However, this issue was resolved due to a loose connection. I must thank all of individuals there that helped including John Morehouse who went to get a battery backup system to make sure I could make it home and to my son-in-law who went to our house to bring us our backup battery generator as well to help us get home.
Working with ALS is not always easy and all the help from everyone around me is genuinely appreciated!


